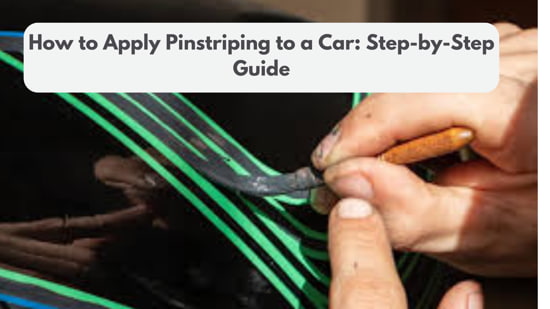
How to Apply Pinstriping to a Car: Step-by-Step Guide
Pinstriping adds a unique touch to your car, enhancing its aesthetic appeal. The process requires precision and patience to achieve professional results. Start by selecting the right pinstriping tape or paint type to match your vehicle’s design. Ensure the car’s surface is clean and dry to prevent any imperfections.
Use masking tape to outline the desired pattern, ensuring straight and even lines. Carefully apply the pinstriping paint or tape within the outlined areas. Allow the paint to dry completely before removing the masking tape. This meticulous approach ensures a flawless, eye-catching finish that stands out.
Introduction To Pinstriping
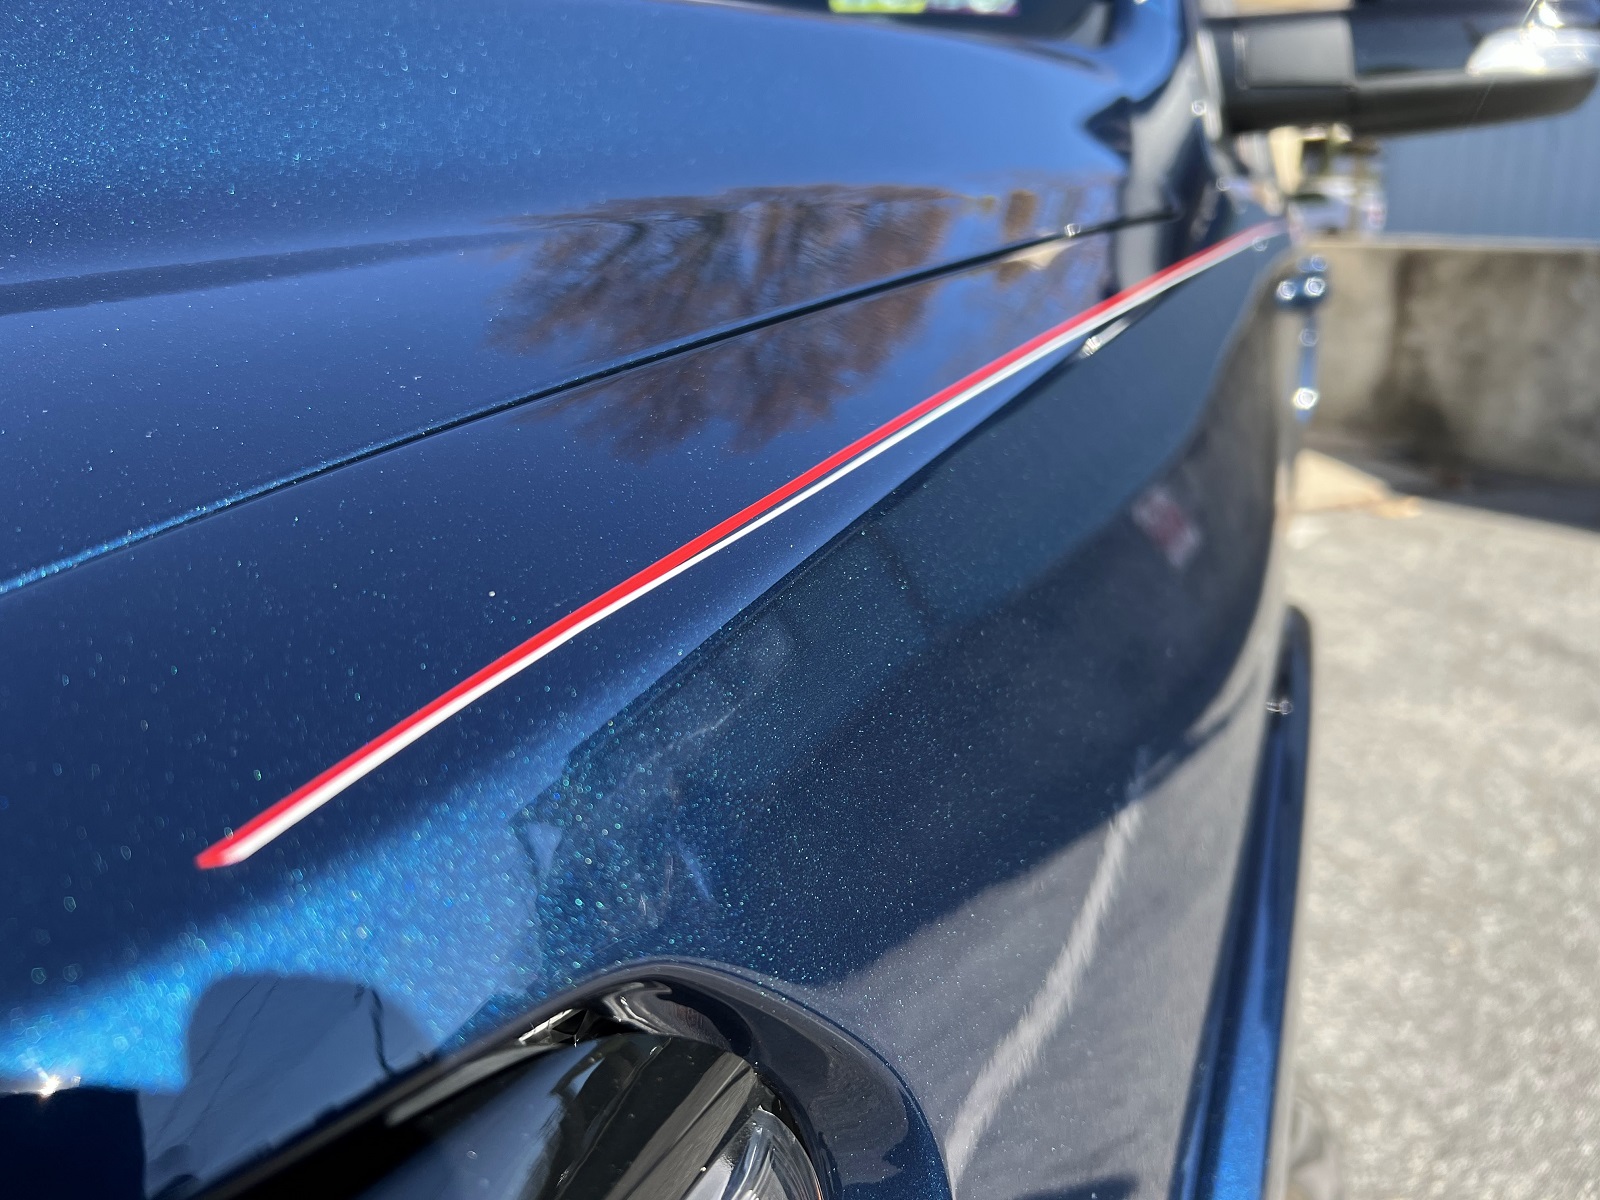
Pinstriping is a form of decorative art. It involves painting thin lines on a car’s surface. These lines add style and character. Pinstripes can be simple or intricate. They often follow the car’s body lines. Different colors and designs can be used. Pinstriping is a great way to make your car stand out.
Enhances Appearance: Pinstriping adds a unique touch to your car, making it look more attractive and stylish. It also protects the paint from minor scratches. Customization: You can choose colors and designs that reflect your personality. Increases Value: A well-done pinstripe job can increase your car’s resale value.
Tools And Materials
Quality pinstriping demands specific tools and materials for precision. Essential items include fine-line tape, pinstriping brushes, and paint. Proper preparation ensures a professional finish.
Essential Tools
A few tools are very important. Masking tape is a must. A sharp utility knife is needed. A pinstriping brush is essential. Measuring tape helps with precision. The cleaning solution is vital. Rags are necessary. A heat gun may also help.
Choosing The Right Paint
Enamel paint is durable. Acrylic paint is easier to use. Water-based paint is eco-friendly. Check the paint color. Make sure it matches your car. High-quality paint lasts longer. Test the paint on a small area first. This ensures it looks good.
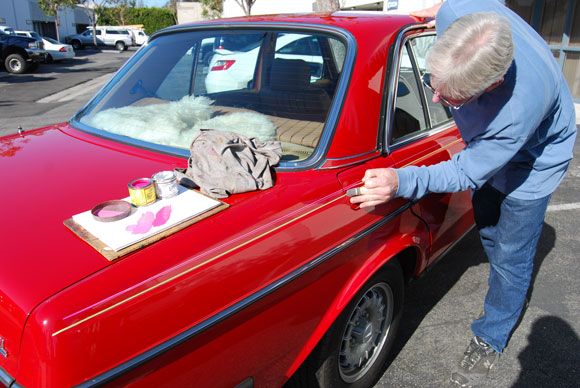
Preparing The Car
First, wash the car with soap and water, removing all dirt and grime. Then, dry the car completely with a clean towel. A clean surface ensures the pinstripe will stick well. Use a wax remover to eliminate any remaining wax or oils. This helps the pinstripe adhere better. Finally, inspect the surface to make sure it is spotless.
Next, use masking tape to outline where you want the pinstripe. This acts as a guide. Make sure the tape is straight. You can use a level to help. Press down firmly on the tape to secure it. Mask off any areas you don’t want to paint. Double-check that the tape is secure before starting.
Design Planning
The first step is picking a design. Think about your car’s style. Classic cars look great with traditional stripes, while modern cars might need a sleek design. Choose colors that complement your car. This makes the stripes stand out.
Draw the design on paper. This helps to see how it will look. Use a ruler for straight lines. Make sure the stripes are even on both sides. Check the proportions. Fix any mistakes on paper first. This saves time later.
Applying The Pinstripe
Use a thin brush for fine lines. Dip the brush into the paint. Wipe off extra paint. Start at one end of the car. Pull the brush in a straight line. Keep your hand steady. Move slowly to avoid mistakes. Let the paint dry before touching it. Clean the brush after use.
Choose a quality pinstriping tape. Clean the car surface first. Peel off the tape backing. Place the tape on the car. Press it down firmly. Remove any air bubbles. Use a squeegee if needed. Cut off any extra tape. Ensure the tape is straight. Double-check your work.
Drying And Curing
Pinstriping paint needs time to dry. Drying time can vary with the type of paint, but it usually takes about 1 to 2 hours. Make sure the area is dust-free. This helps to avoid imperfections. Use a fan to speed up the drying process.
Protecting the paint is crucial. Apply a clear coat over the pinstriping, which adds a layer of protection. Wait until the paint is completely dry. Apply the clear coat in thin layers. Allow each layer to dry before adding the next.
Finishing Touches
Applying pinstriping to a car enhances its aesthetic appeal and individuality. Carefully clean the surface and use precision tools for straight lines.
Removing Tape
Wait until the paint is dry before removing the tape. Gently peel off the tape at a 45-degree angle. This helps prevent any paint from lifting. Use a steady hand to avoid smudging the fresh pinstripe. Double-check for any uneven lines or smudges. Fix them carefully with a fine brush if needed.
Cleaning Up
Clean the area around the pinstripe with a soft, damp cloth. Remove any leftover adhesive from the tape. Use a mild cleaner to ensure no residue is left. Buff the pinstriped area with a microfiber cloth to make it shine. Ensure the surface is completely dry before driving the car. Your car should now have a sleek, professional look.
Maintenance Tips
Always keep the pinstriped area clean. Use a soft cloth and mild soap. Avoid harsh chemicals that can damage the pinstripe. Clean the car weekly to maintain the stripe’s shine. Wash off dirt and debris as soon as possible. This helps prevent scratches.
Small chips and scratches can be fixed at home. Use a fine brush for touch-ups. Select a matching paint to cover the damaged area. Apply thin layers of paint for a smooth finish. Let each layer dry before adding the next. For better results, use pinstriping tape to guide your work. Always seal the touch-up with a clear coat.

Frequently Asked Questions
What Is Car Pinstriping?
Car pinstriping is the application of thin lines to a vehicle’s surface, enhancing its aesthetic appeal.
How Do You Prep A Car For Pinstriping?
Clean the car thoroughly and remove any wax or grease. Ensure the surface is smooth and dry.
Can You Pinstripe Over Existing Paint?
Yes, pinstriping can be applied over existing paint if the surface is clean and smooth.
What Tools Are Needed For Pinstriping?
You need pinstriping brushes, masking tape, a steady hand, and high-quality pinstriping paint.
Is Pinstriping A Car Difficult?
Pinstriping requires patience and practice. Beginners may find it challenging but rewarding with practice.
How Long Does Pinstriping Last?
With proper care, pinstriping can last several years. Protect it from harsh weather and frequent washing.
Can You Remove Pinstriping From A Car?
Yes, pinstriping can be removed using a heat gun or adhesive remover, followed by a gentle clean-up.
Conclusion
Applying pinstriping to your car can enhance its appearance and style. Follow the steps carefully for a professional finish. Practice and patience are key to mastering this skill. Your car will stand out with unique, custom pinstripes. Start your pinstriping journey today and enjoy the transformation.
Happy detailing!